The first week end of January, 4 BMWONS members
(Bruce, Bill, Amedee and Piet) came to see the dismantling
of the bike.
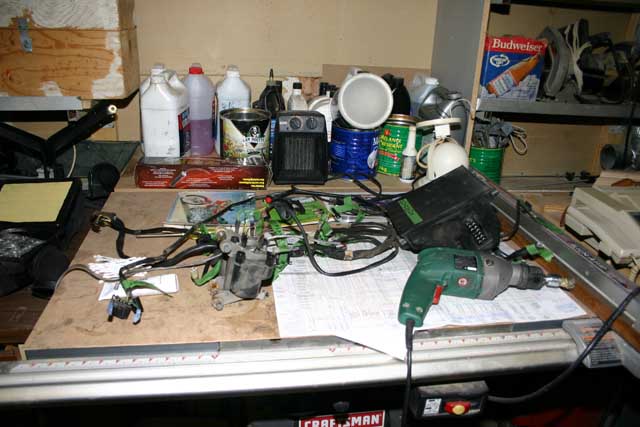
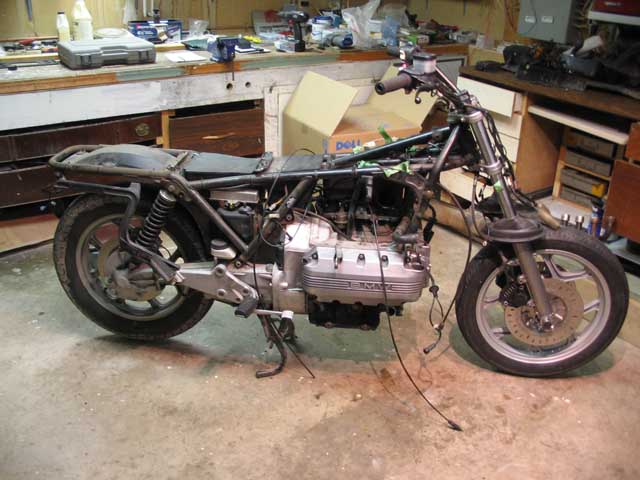
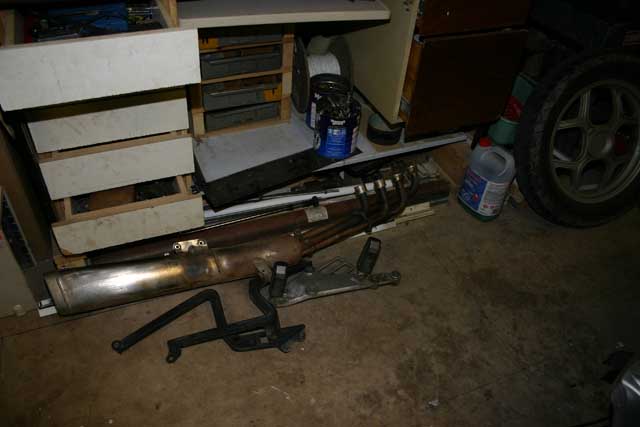
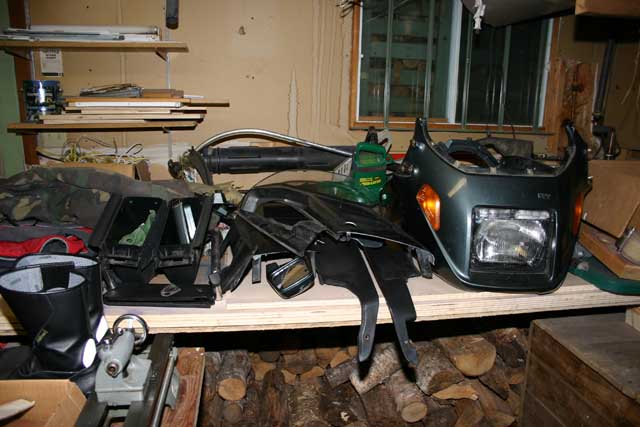
After a couple of hours I had big piles of parts stored all over the workshop. I
discovered that the frame had rust all over and was
in need of a full paint job. I was expecting only touch-up on the sides. |
 |
 |
 |
 |
 |
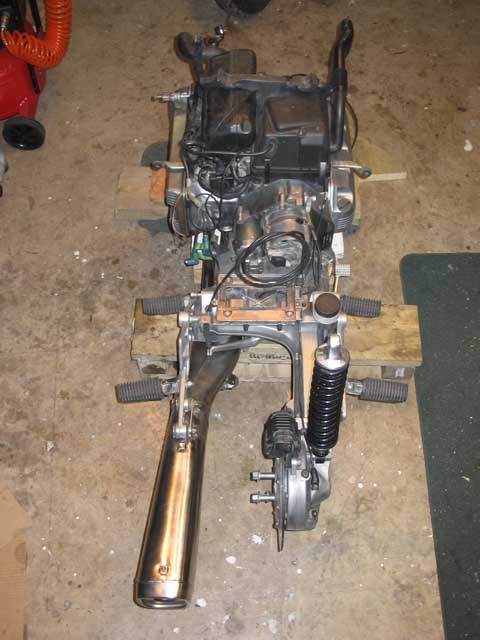
Removal of the power
train.... |
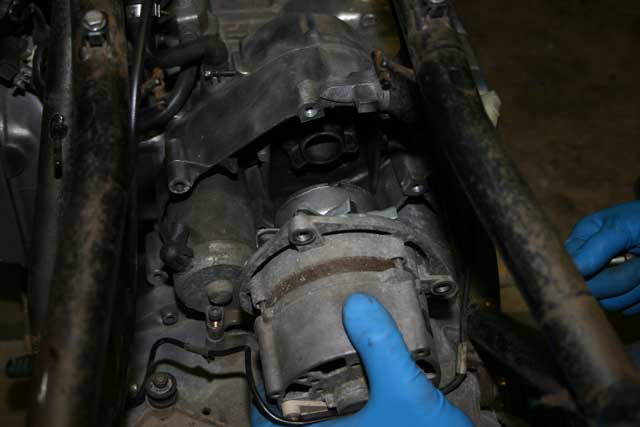
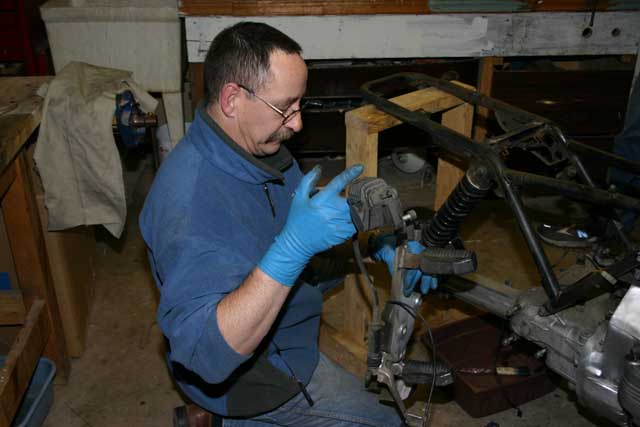
The alternator is taken off after removing 3 screws.
Only 2 screws retains the starter |
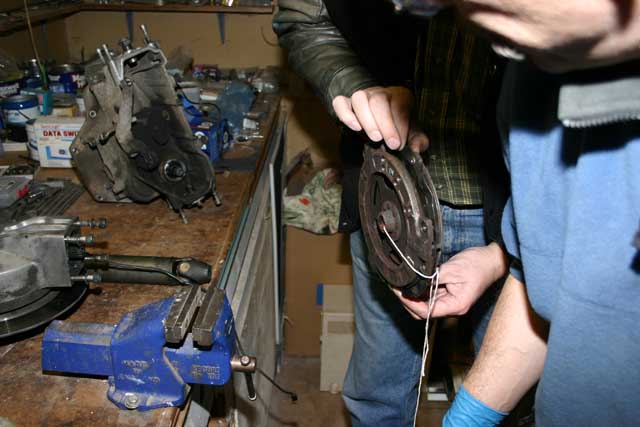
The whole back brake system is removed all together |
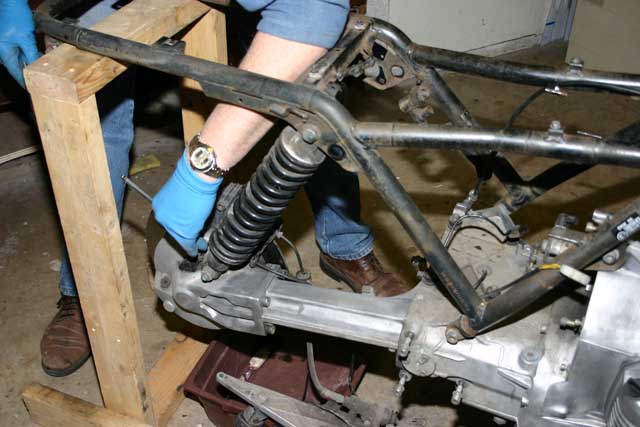
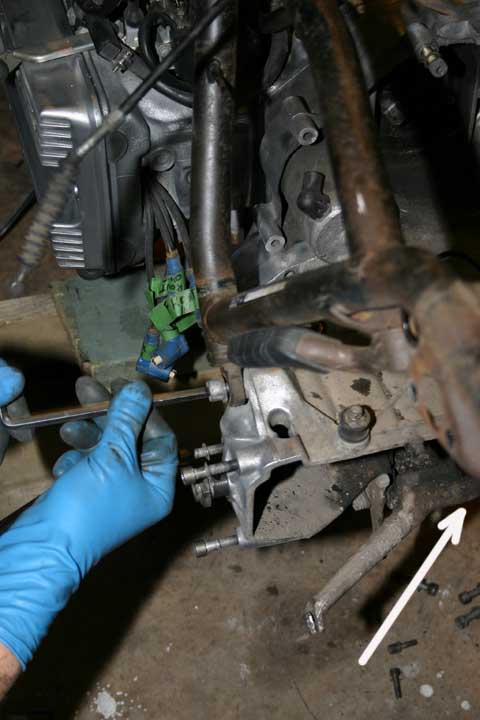
Removing the suspension and the differential |
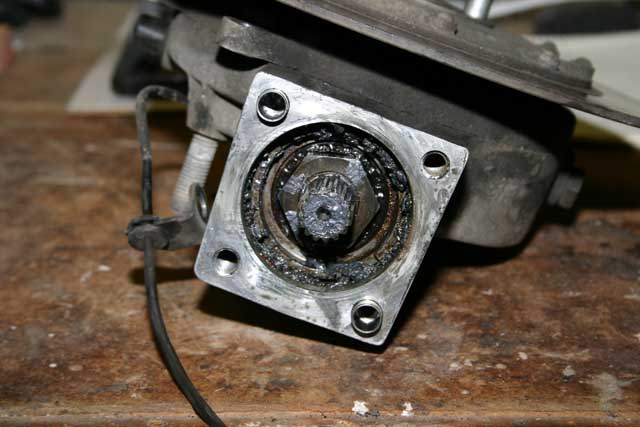
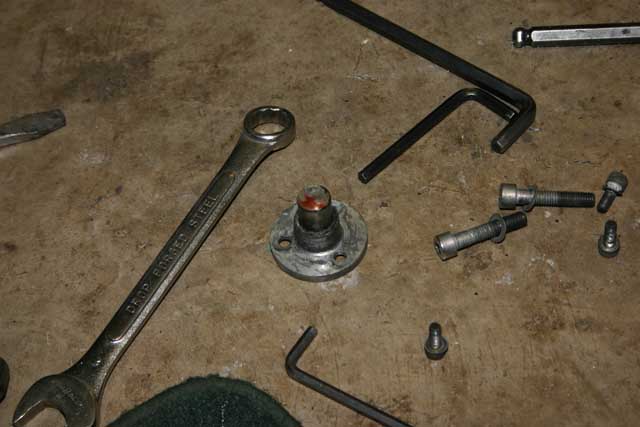
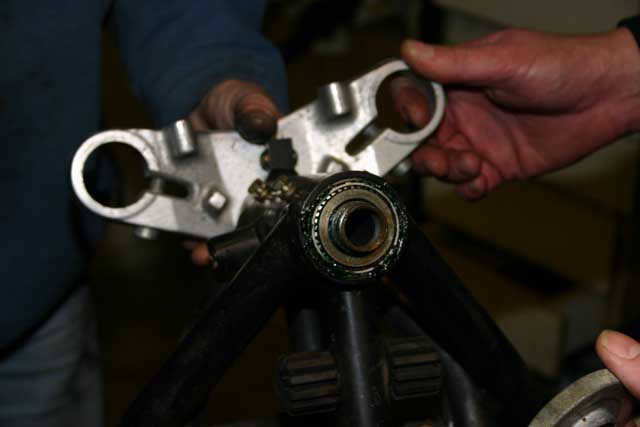
The splines are looking good
If you ever need your splines rebuilt check this
web site. He is doing a faboulous job:
Bruno's Machine Shop and
Repair
See also this link:
result of lack of grease....... |
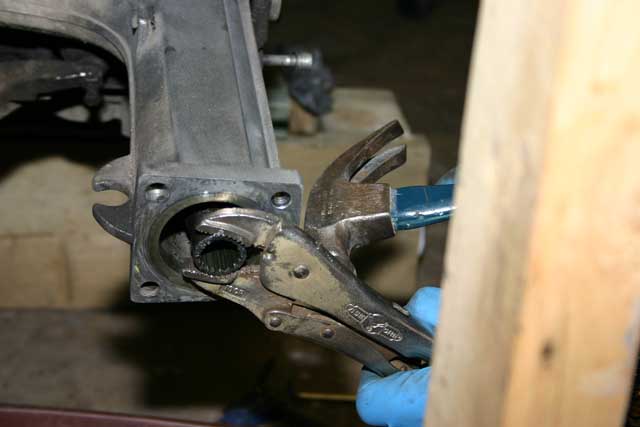
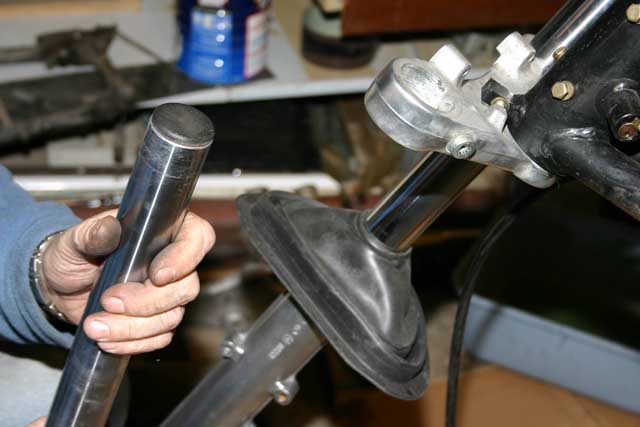
A gentle tap on the wise grip and the drive shaft is off.
The swing arm should be in an horizontal position
or the rubber boot on the gear box output shaft will be damaged.
(the drive shaft may hook on the boot) |
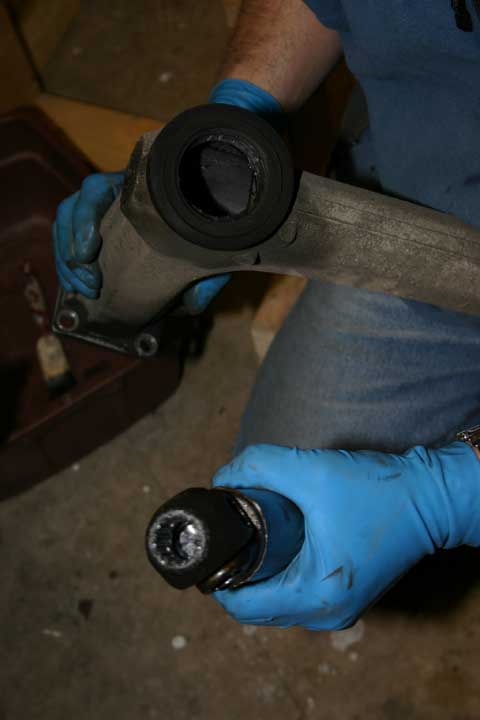
The splines on the engine side of the drive shaft look good too |
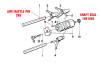
By removing these 3 screws, you get off the right swing arm shaft |
Slacking the nut of the left side swing arm shaft |
Removing the left side swing arm shaft - This is the
adjustment screw for the swing arm's bearings |
Here is the right side swing arm shaft |
If the swing arm bearings are stocked
with dirt, pack some grease in the inside race, insert your right side shaft into
the bearing
and with
a good size hammer give a big tap on the shaft. The pressure applied on
the grease will push the bearing out. |
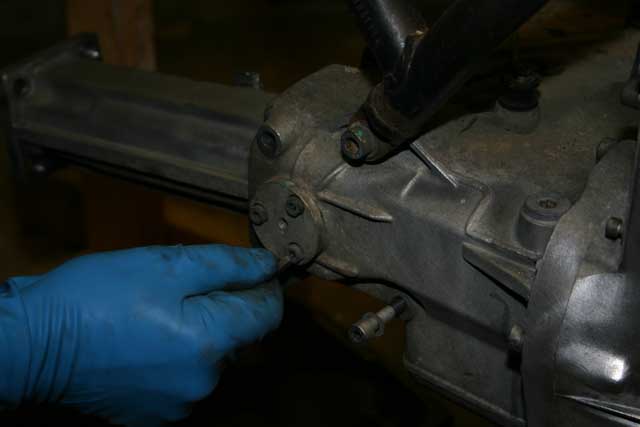
Removal of the gear box |
Oops!!! I didn't tie the clutch lever to the gear box and
the rubber boot on the clutch mechanism got destroyed.
($50 mistake) |
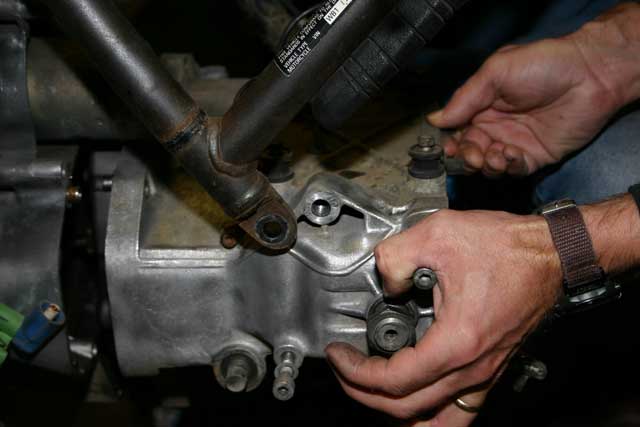
Support the gear box to avoid bending the clutch push rod. |
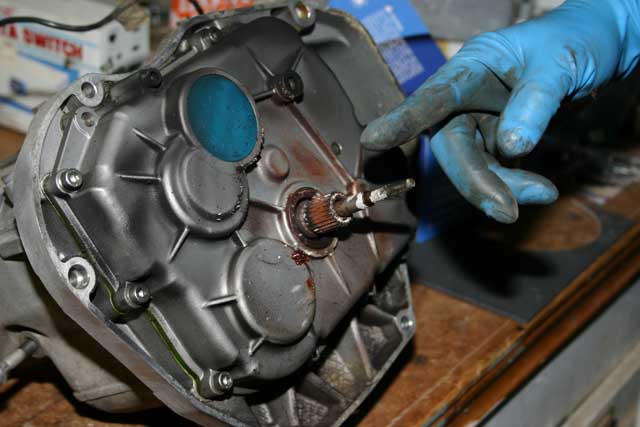
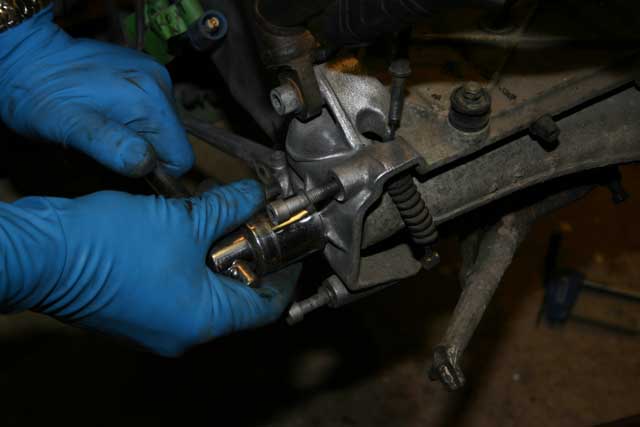
Inspection of the "small" splines (the one fitting on the clutch)
The rusty color is the color of the grease previously used.
It is very important to lubricate them otherwise you could be in for costly
repair.
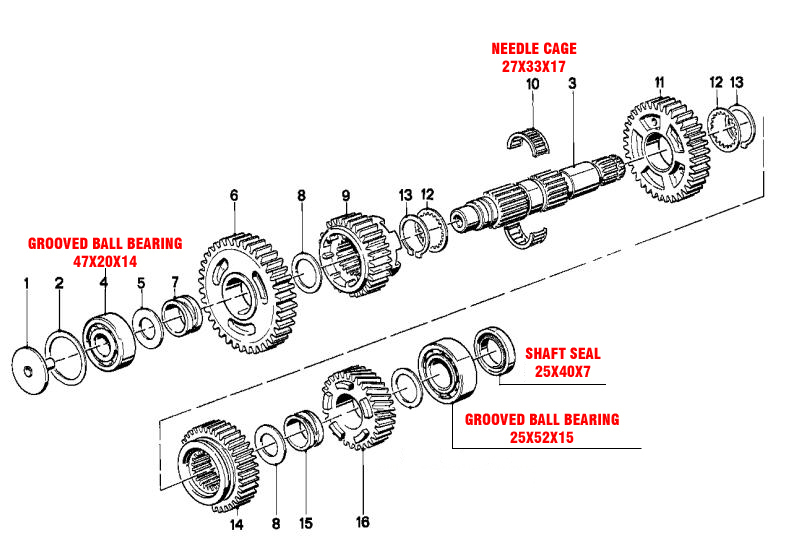
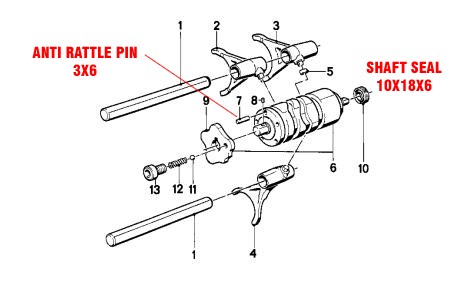
If you need to rebuild your gear box, here is the
minimum part list needed:
You can buy industrial bearings and seals (I indicate all the dimensions)
K75 AND K100 gearbox are identical
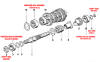
A complete detail of parts with BMW numbers is available
here
|
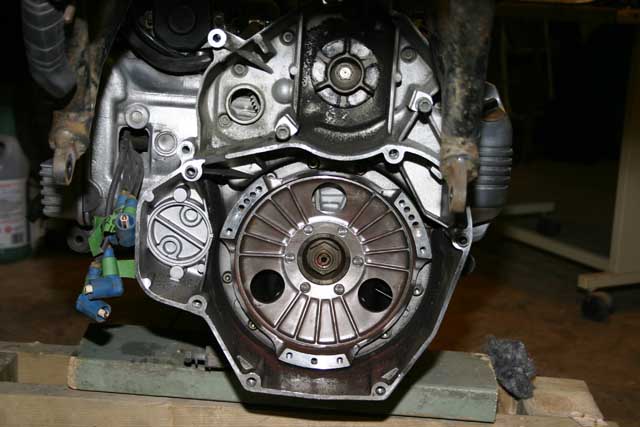
Removal of the clutch |
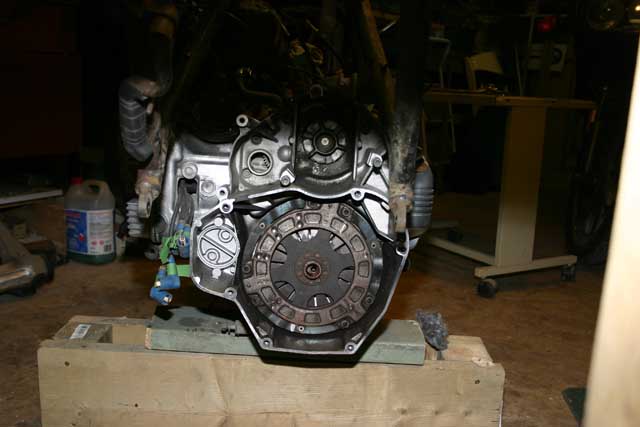
The clutch is ready to be taken off
|
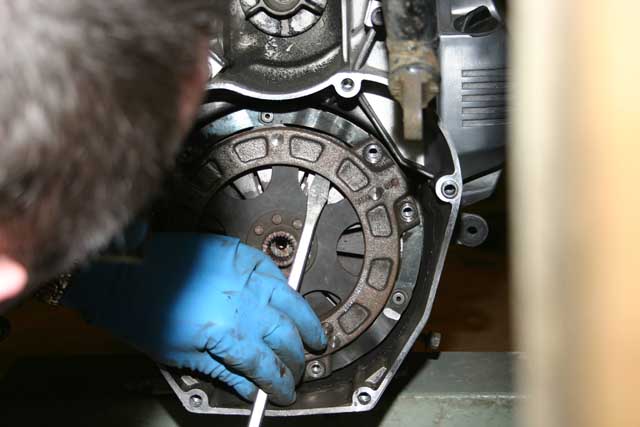
The alignment pins are giving a bit of rough time. Gently pry with
a screw driver to remove the plate. |
After measurement, the clutch is put together in the order
that it was removed. (the 3 painted marks are 120 degrees from each
other) |
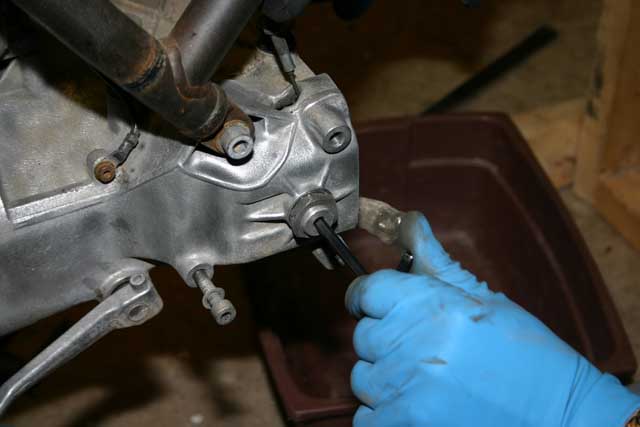
Time to remove the "big" nut on the output shaft.
Inserting a hammer handle in one of the 3 holes will lock the clutch in
order to slack the nut. |
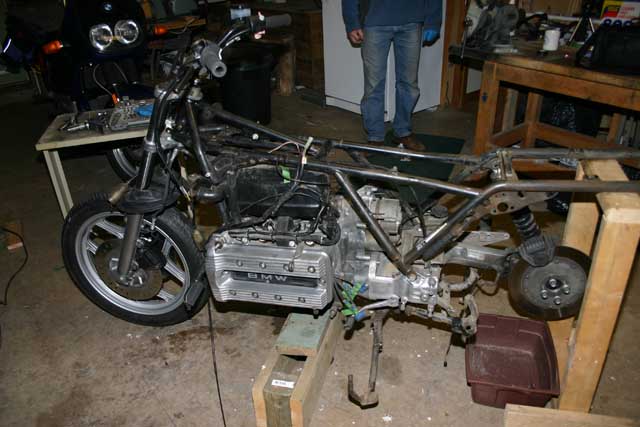
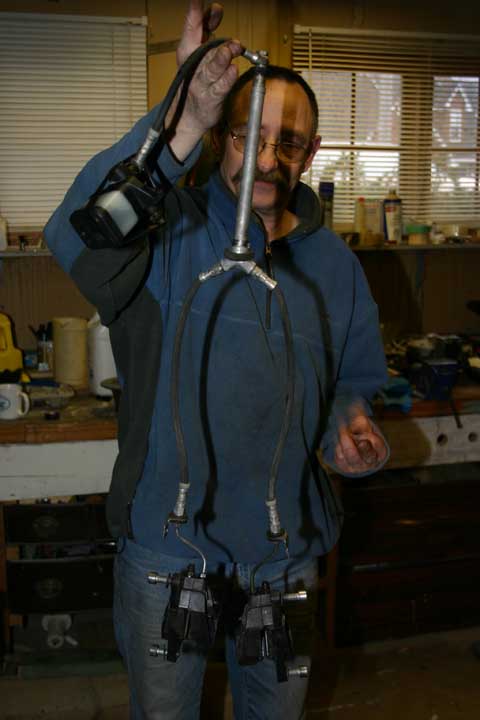
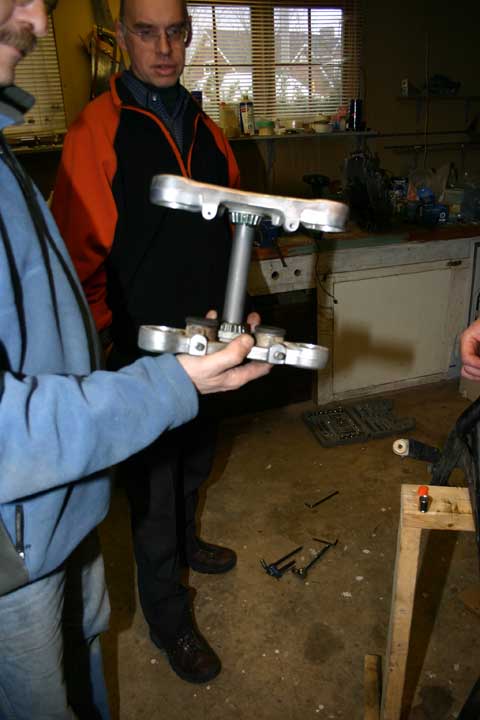
Removal the front fork and brakes to
get the frame off the engine |
 |
 |
 |
 |

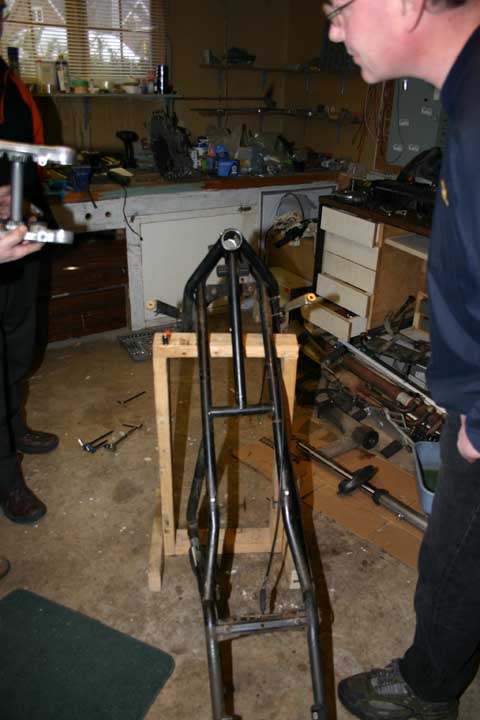
3 more screws and the engine is off
On a K bike, do you remove the engine or the frame? |
 |
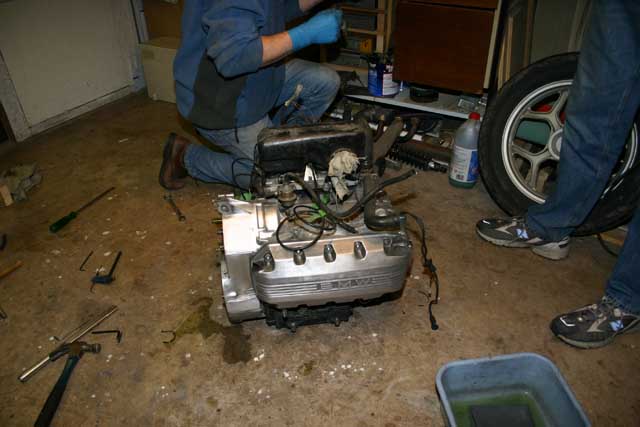
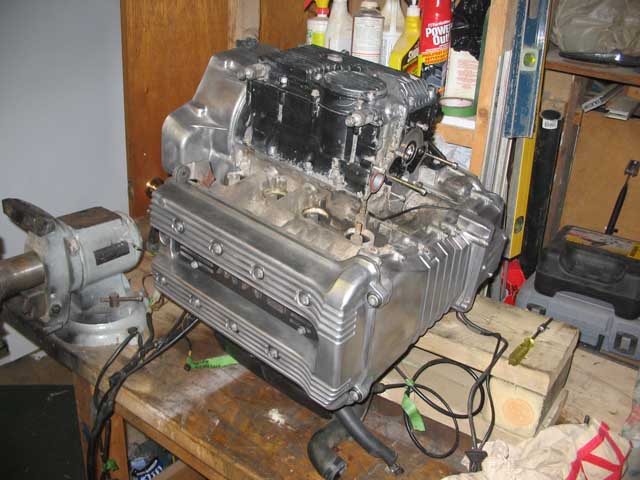
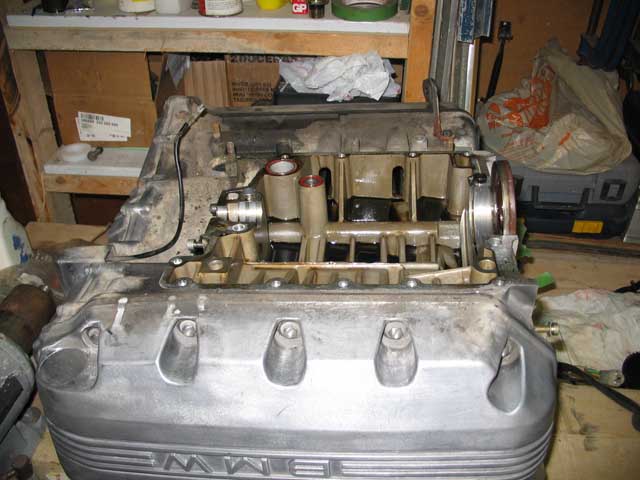
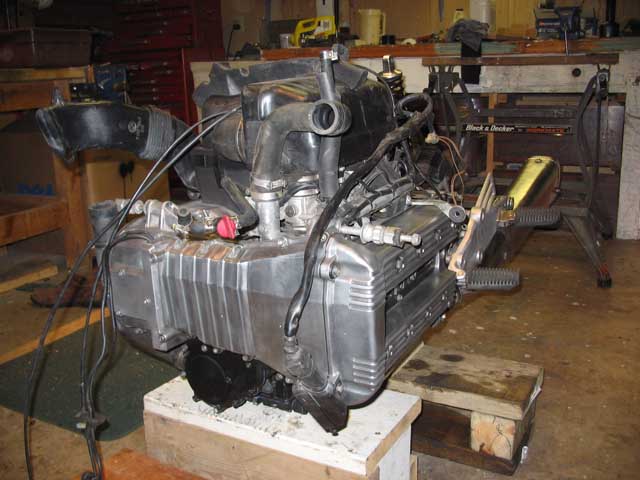
Time for the engine inspection |
 |
 |
 |
 |
Here is where the MNDhL@#! noise was coming from... The bearing on the
alternator driver is bad.. |
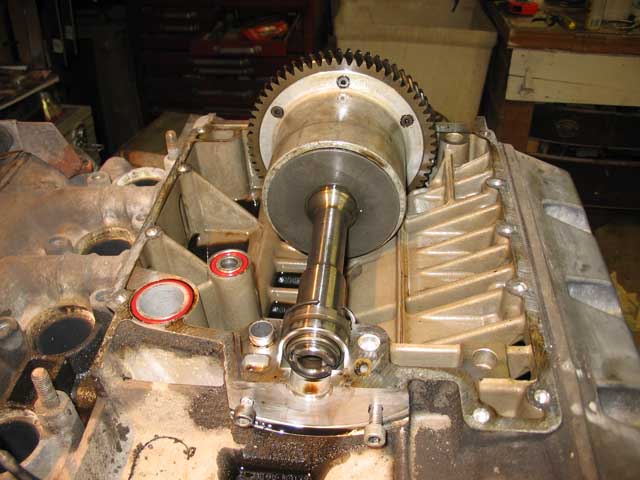
Checking the inner parts of the engine.
My worry was that the rivets on the output shaft were shot.
This is a disease of the 1985 K100 bikes. The 1985 has only 6
rivets when the 1986 has 12.
Lucky me!!! Everything looks perfect... |
 |
 |
 |
 |
| Caution: When
re-installing the output shaft, put some loctite on the outer race of
the bearings to avoid them to spin free in the crankcase. |
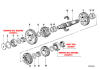
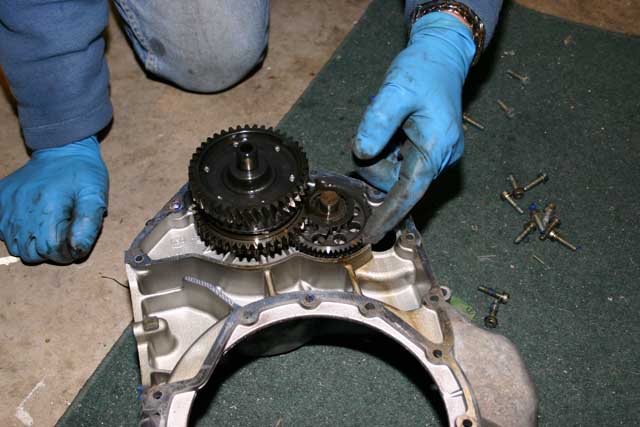
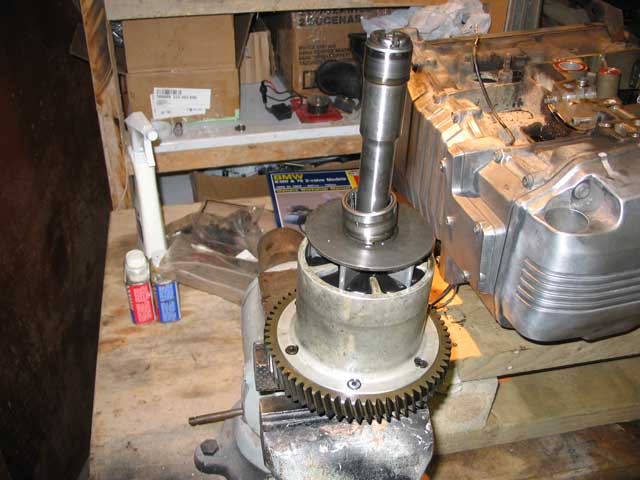
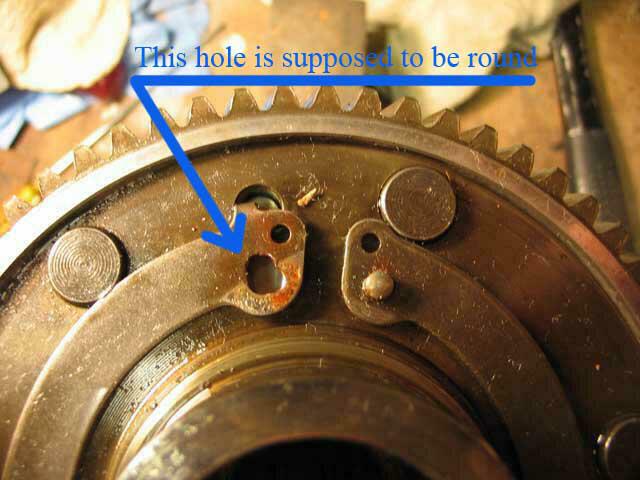
Except...... One of the other
problem of the output shaft is the tensioner spring between the absorber
and the idle gear
The spring is supposed to remove the slack between the output shaft gear
and the crankshaft. As you can see on the pictures, the hole for the
retainer pin is wearing out at the point that the tension on the
absorber gear
is nul.
I have now seen 3 engines with less than 80,000kms having the same
problem. The symptom is a gear noise that seems to come from the back of
the cankshaft. |
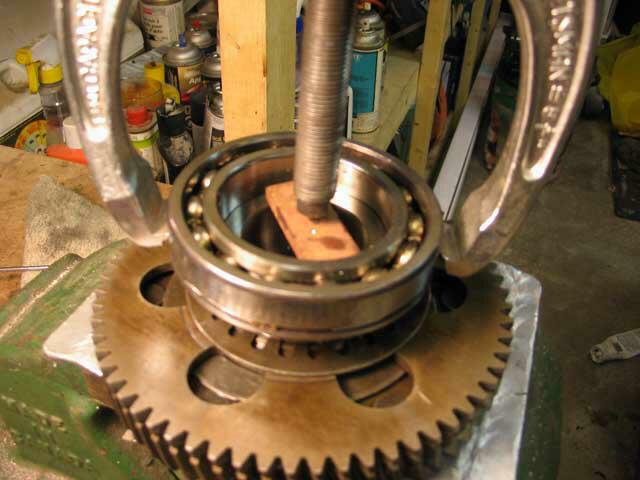
Removing the spring ring from the outside race of the bearing allow the
use a regular puller. |
 |
 |
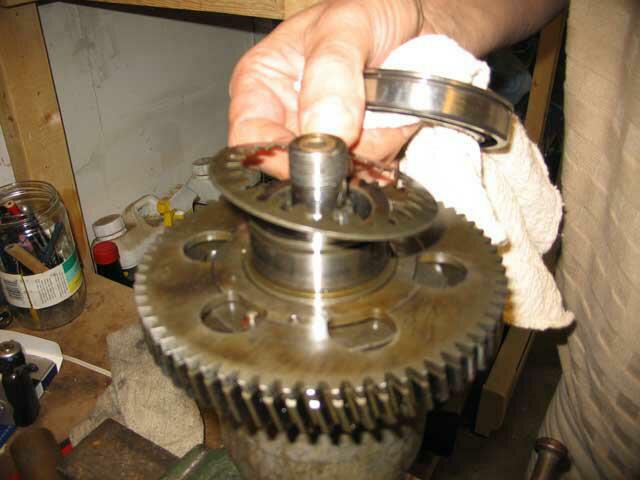 |
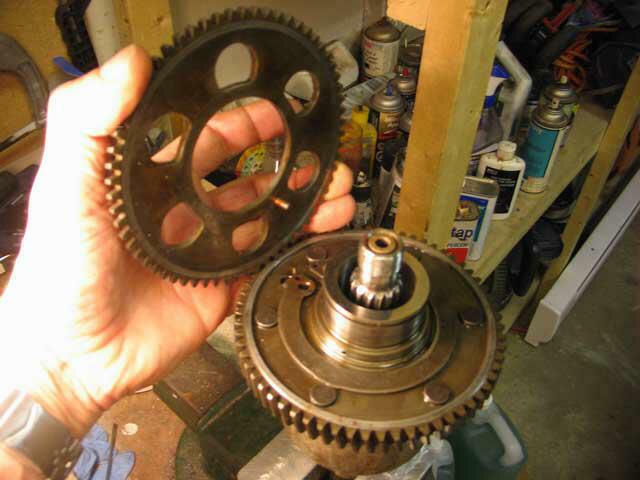
separating the absorber from the idle gears |
This is the $14.00 spring that has to be replaced |
| |
Timing
Chain
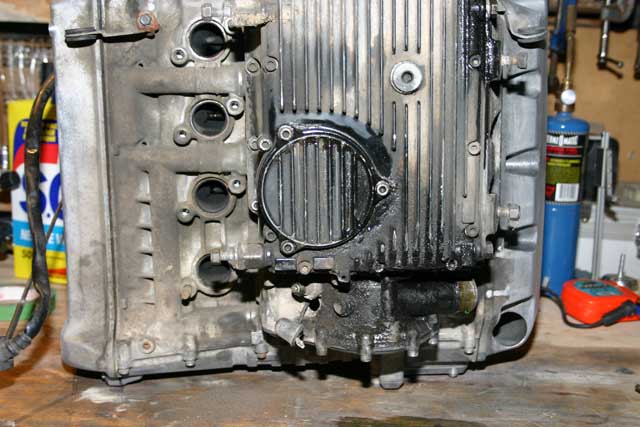
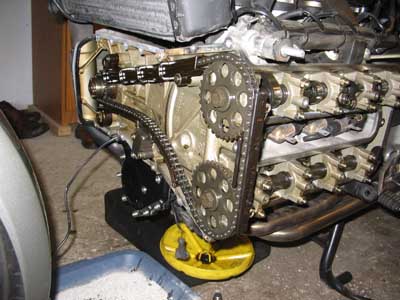
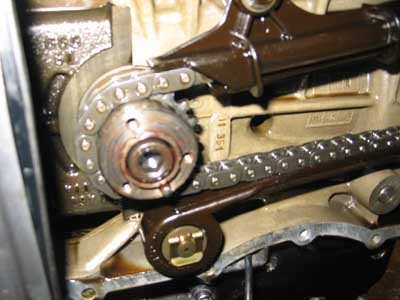
One of the other problem on the K100 is the timing chain.
Even if your engine has less than 80,000 kms, the timing chain may have
to be replaced. Looking at the wear on the front engine cover can be a
good indicator of a chain being in need of replacement. |
 |
 |
 |
 |
 |
 |
| The mark on the front cover
(near the seal) indicates a lateral wear on the timing chain. The bow on
a new chain is about 1" when the bow on a chain with 50,000kms + is 2"
or more. The result is the chain rubbing again the front cover. |
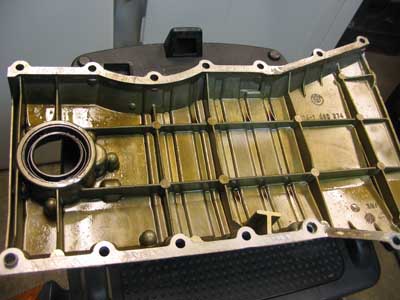
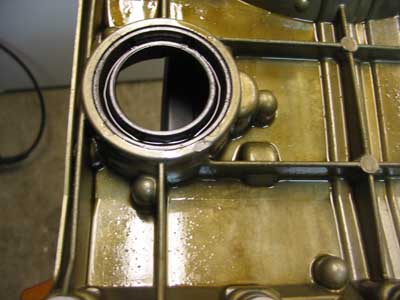
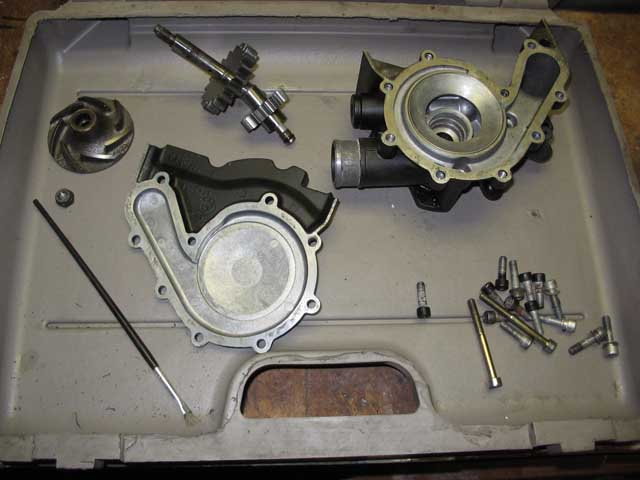
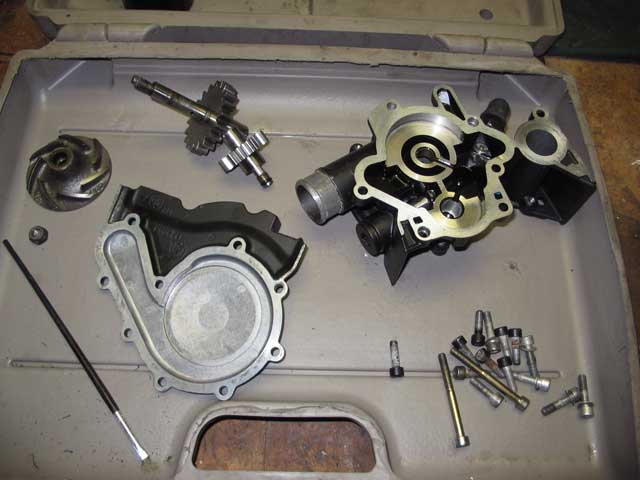
| Oil/water
pump |
The water/oil pump is 21 years old. The seals are in bad shape and need to be replaced.
The mechanical side of the pumps are OK, but the rubber of the seals is
rotten by the anti freeze |
 |
 |
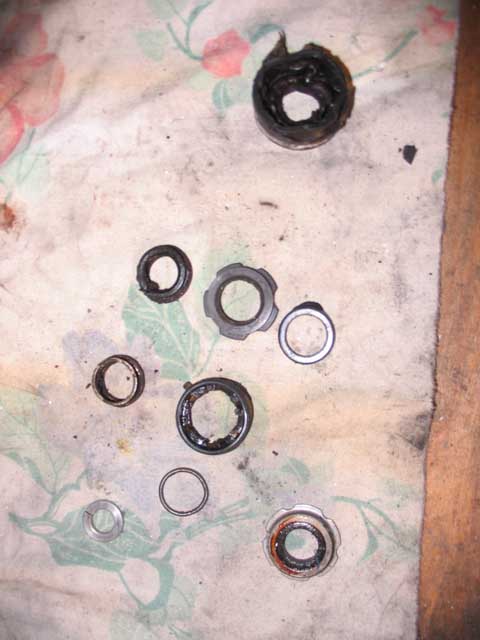 |
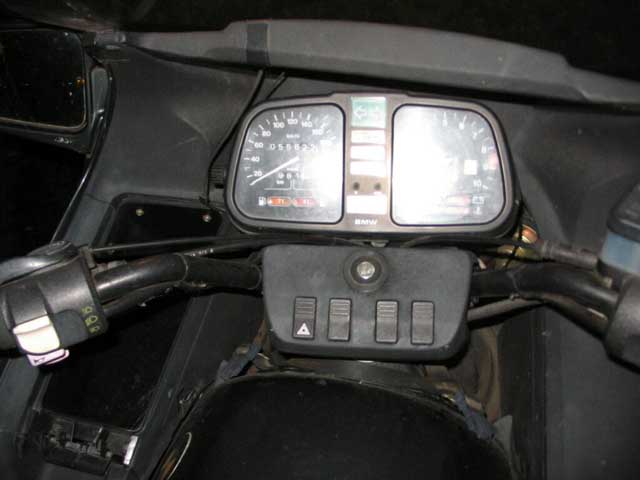
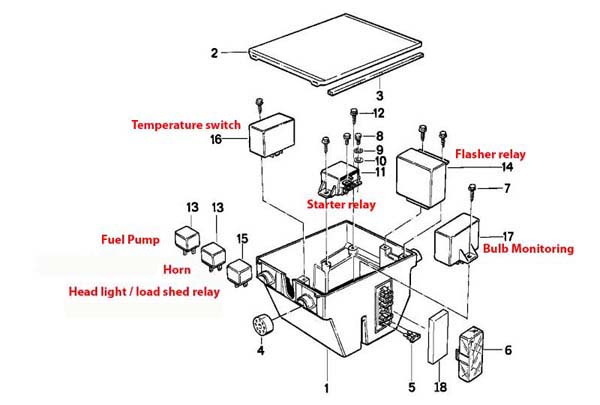
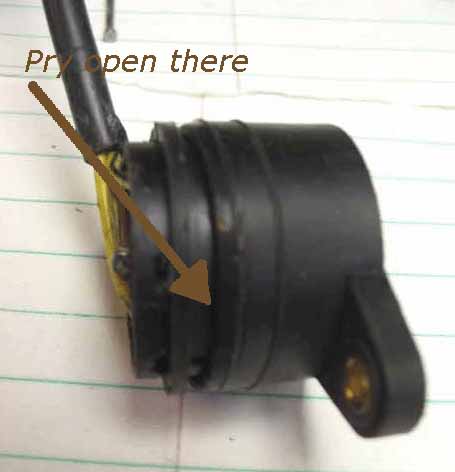
TGPI switchThe TGPI switch was not
working properly and as a result, the gear digital display as well as
the neutral's green light were not
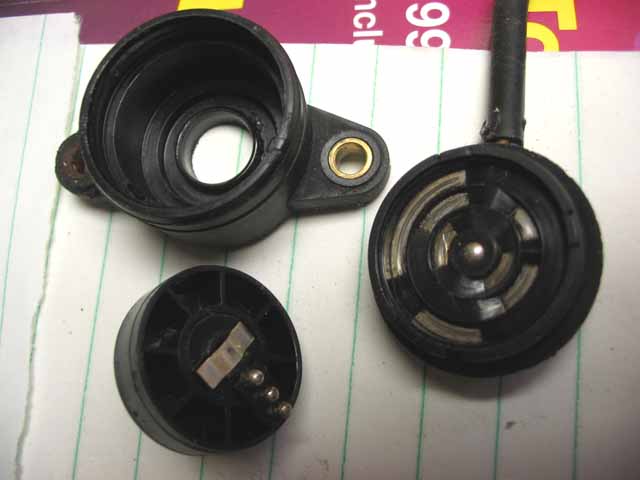
functioning. I opened the switch and cleaned it. This is a minor common
problem on the K bike. The switch is not water tight and
the contacts get corroded. This is easy to fix, and when reinstalling
it, I generously coated the casing of the switch with silicone.
How to test your switch before removing and opening it? Check the
following article on IBMWR:
http://www.ibmwr.org/ktech/trans-switch.shtml
Warning.... The 3
little pins (contacts) are spring loaded and they may fly away when you
open the switch.
To avoid hunting for them if they fly away, work in a clean area. The
best is to work in a contained area like a shoe box. This fix is very
easy and doesn't require a lot of mechanical abilities.
|
 |
 |
|
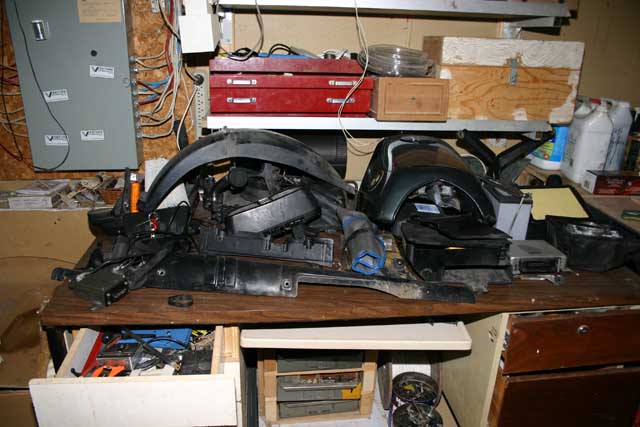
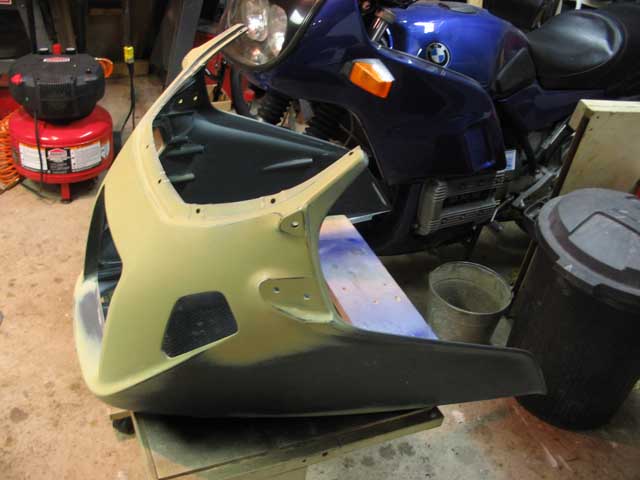
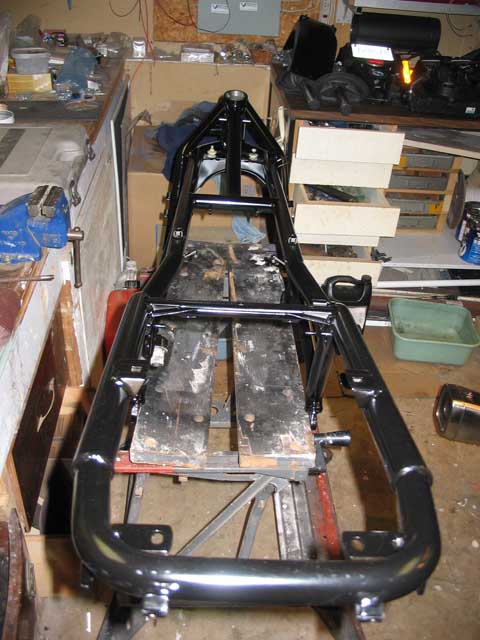
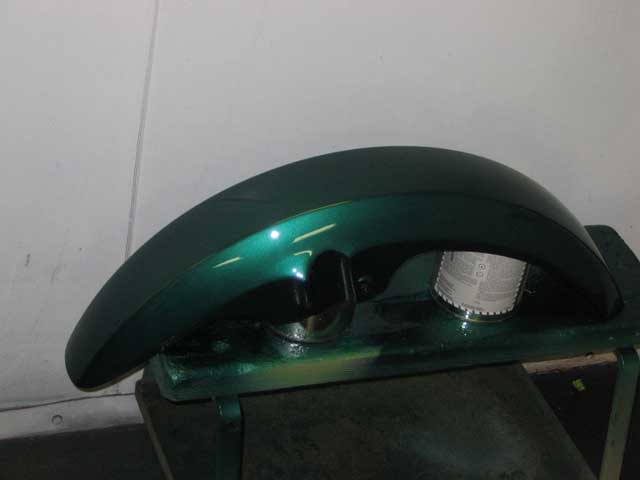
Time to work
on the cosmetic.
A lot of sanding and scrapping is required.
The frame was sanded to the bare metal and next to no filler was used on
the body parts.
All the and nicks and stone chips were sanded to blend with the rest of
the fiberglass
|
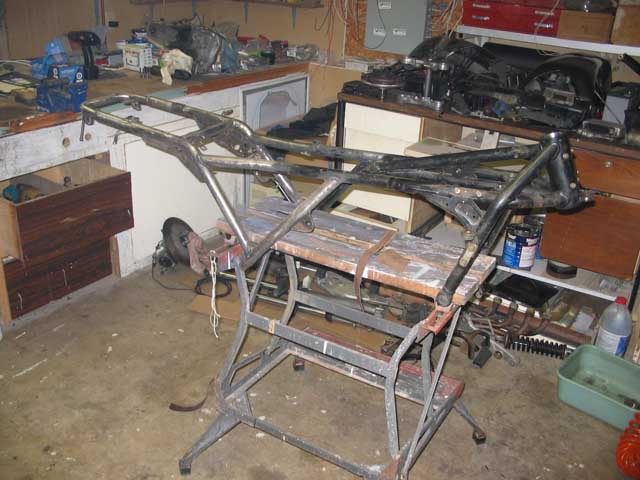
The workmate bench was the ideal support to sand the frame
|
 |
 |
| The fairing was ready for
painting, and I
constructed an articulated support in order to facilitate the painting.
See pictures further down. |
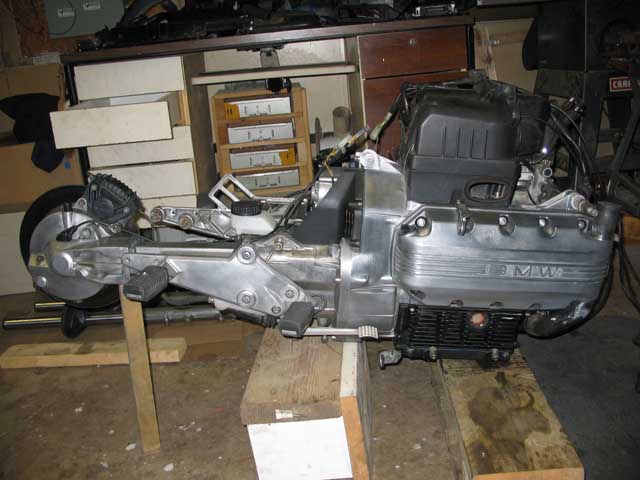
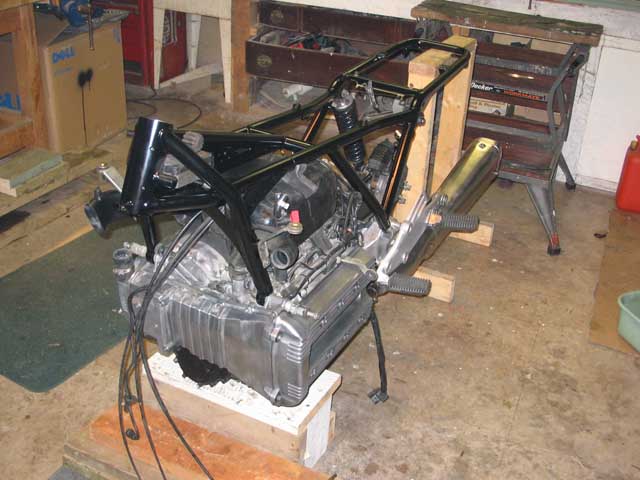
The whole power train
is put back together.
During the paint's prep time I put back
the power train together. I replaced a lot of seals and cleaned all the
aluminum parts.
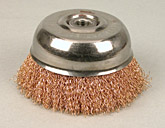
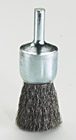
For this project, I have used 8 metallic brushes to clean the aluminum. |
 |
 |
 |
 |
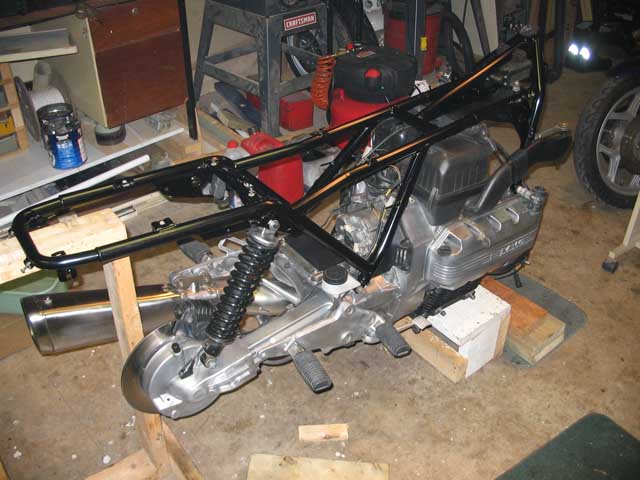
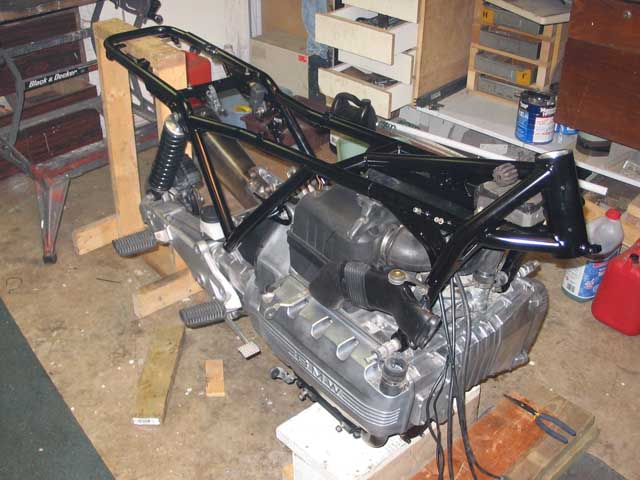
The frame is finally painted and it's
time to refit it on the power train.
The black epoxy paint looks really good. |
|

|
 |
 |
 |
|
|
 |
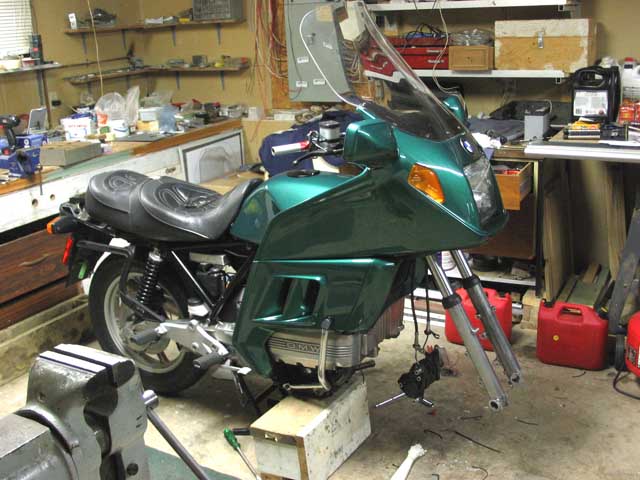
It's finally looking like
a motorcycle again!!! |

|
 |
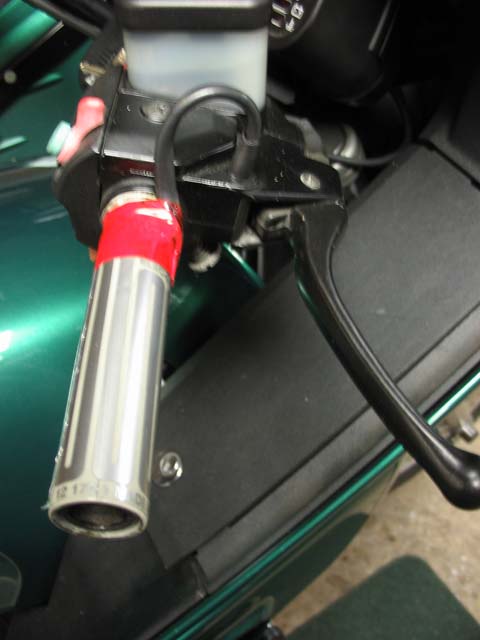 |
| When waiting for a set of original BMW grips, I
installed a set of Kimpex heated grips (They are only $30) |
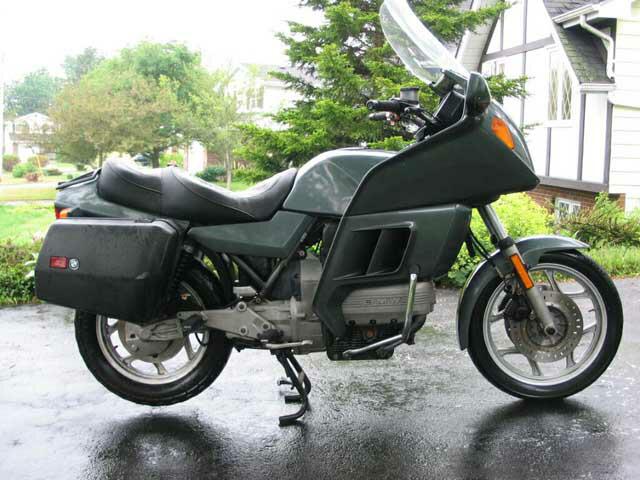
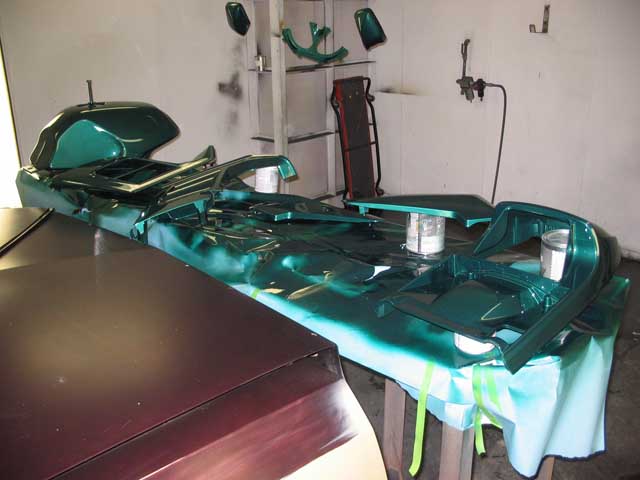
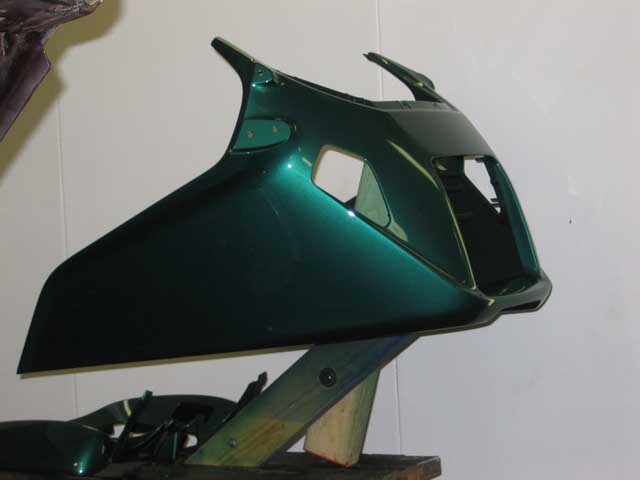
Time to check with Wayne at the paint
booth.. Whoaaaa... This is impressive!!!
It took me 3 weeks to select a color, but I am happy with the result.
Because of all the neon lights, and the flash of the camera, the
pictures don't show the real colour of the bike.
It's a nice mid green metallic, but on the pictures it shows more teal. |
 |
 |
 |
 |
 |
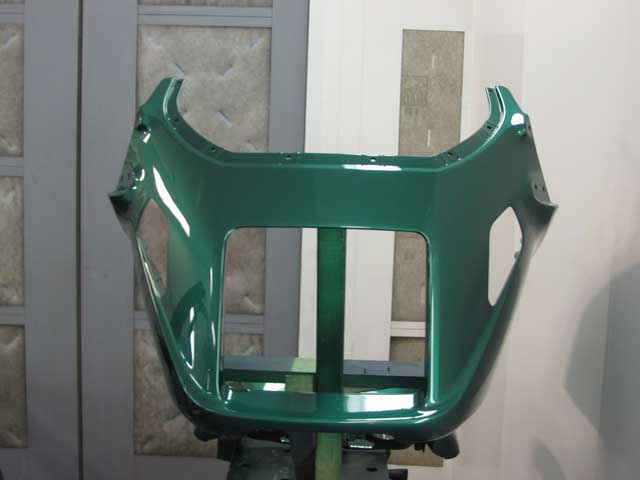
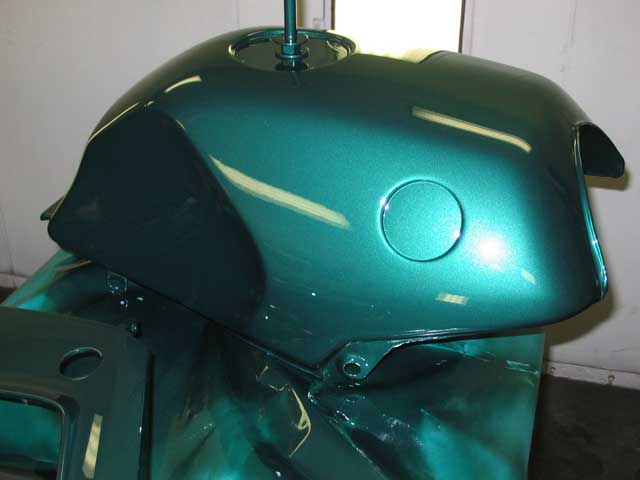
I got some parts back and I rushed to
do a "dry fit" on the bike. Again, none of the pictures show the real
colour.
I have 8 neon tubs and 9 halogen spot lights in my workshop and it's so
bright that some of the pictures were showing just a big glare. |
 |
 |
|
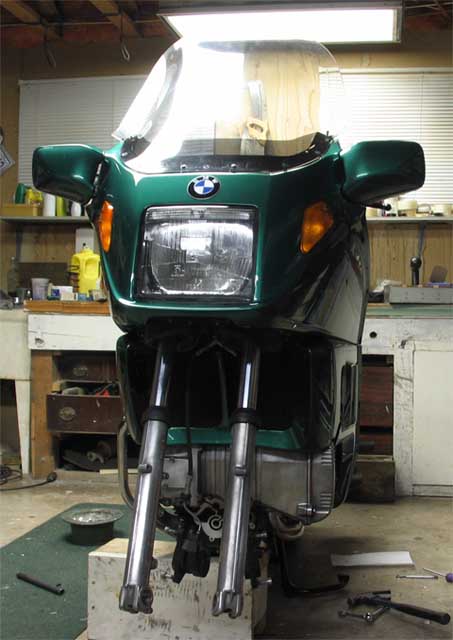
This morning (Saturday February 11), I got up early and finished
to reassemble all the body parts.
Yesterday, I got my new front tire and I am happy to be able to remove the block
of wood from under the bike.
As soon as I get my water/oil pump seals, I will be able to start the
engine and see if I solved the noise's problem
I am really confident that I isolated the problem because the bearing on the
alternator shaft was not running smooth at all.
Today, a friend came to see the K100 and he is so impressed that he is
considering a Beemer for his next bike.
I started the K75 for him (1986, 230,000kms and original engine),
She started right at the first pull of the starter. This is impressive for a bike
that has not ran for over 2 months. The battery is
still fully charged. Thanks to the kill switch that isolate the battery.
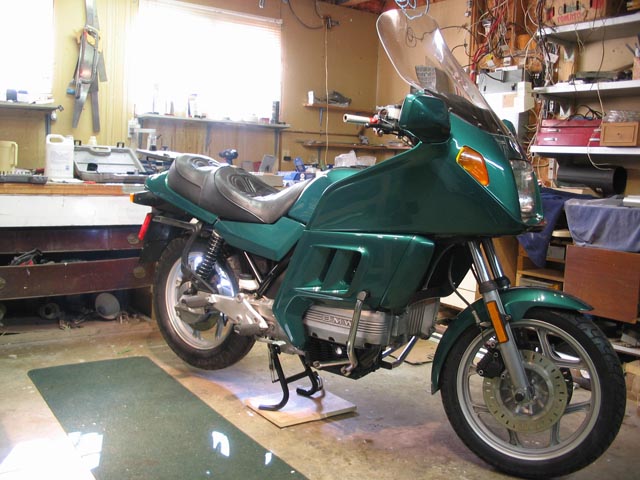
Here is the K100 after a month and 1/2 of work.
She looks really classy and this is what you would expect for a 21 years old
bike.
|
|
 
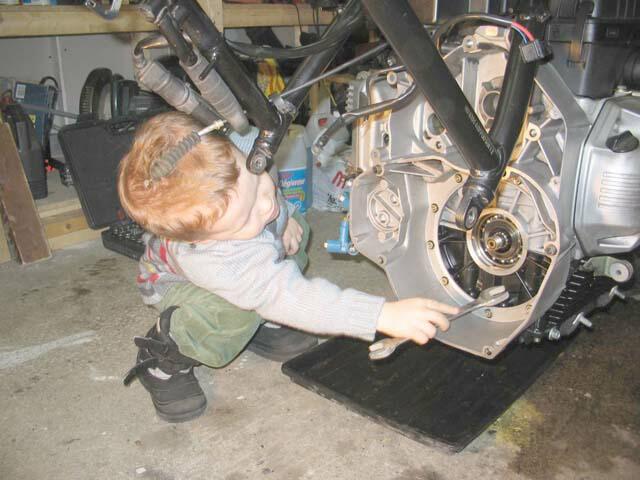
As a note of humour, here is the next generation of BMW fanatic.
My twin brother has a 1985 K100rt too and his son at 2 1/2 loves working
on the bike.
He already knows that a ratchet needs a socket and an allen key is no mystery to
him.
Smart kid but don't tell him.
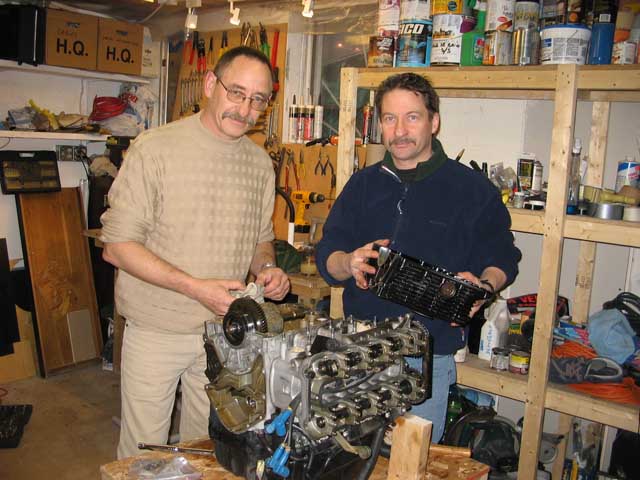
Here is a picture of the twin brothers sharing info and knowledge of the K100
engine
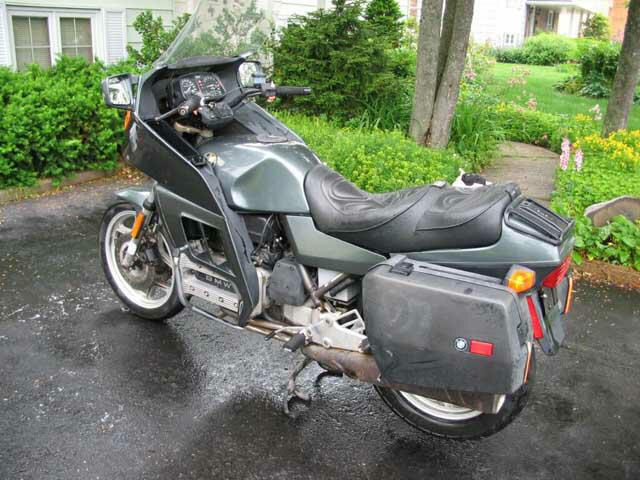
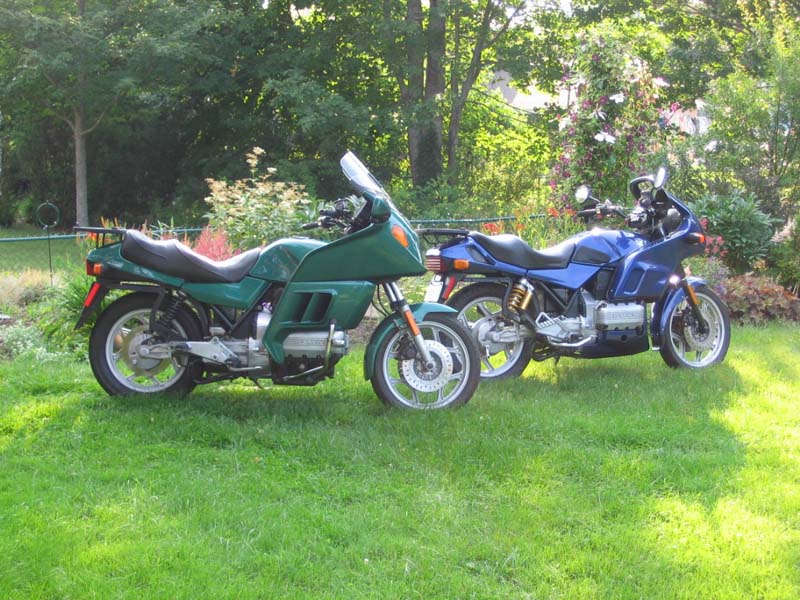
| November 2006:
This year, I had shared my riding between the K100 and the K75.
The 2 bikes were made on the same concept, but are radically
different. The K100 is a lot more powerful and handles the best when
you have a passenger. It's also a lot heavier than the K75. The K75
is lighter and a lot smoother. It's still my preferred bike for the
twisty roads. During Spring and fall, the K100rt fairing is a big
plus when the temperature is close to the freezing mark but during
the summer it's like riding a steam engine. This is good if you
don't have time to go to the sauna and want to lose weight. I solved
some of the heat problems by recently installing an electric windshield from
a K1100LT.
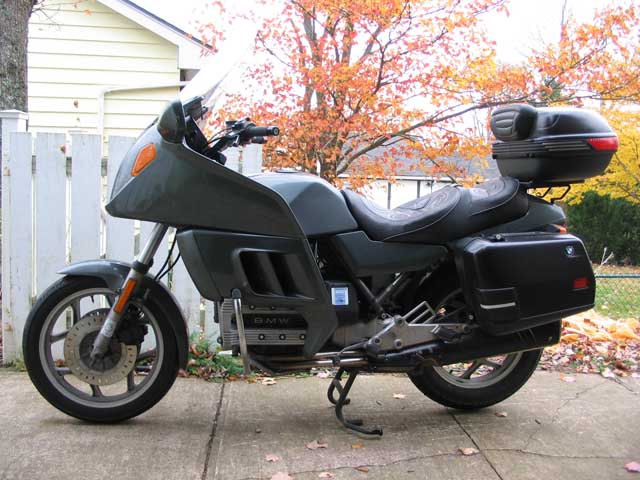
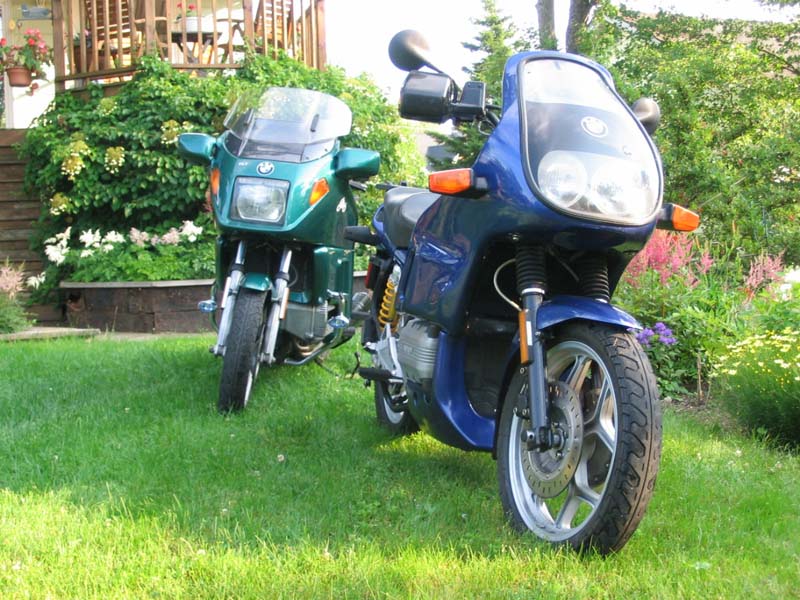
September 2007
The K100 is here in it's final version with the K1100 electric
windshield. Since I restored this bike, I rode it for almost 20,000 kms without any problems
The K75 has a "Sprint"
fairing. This fairing was originally produced in England for the
K100 but fit very well the K75. The company has stopped producing
this model, but they still have parts in stock.
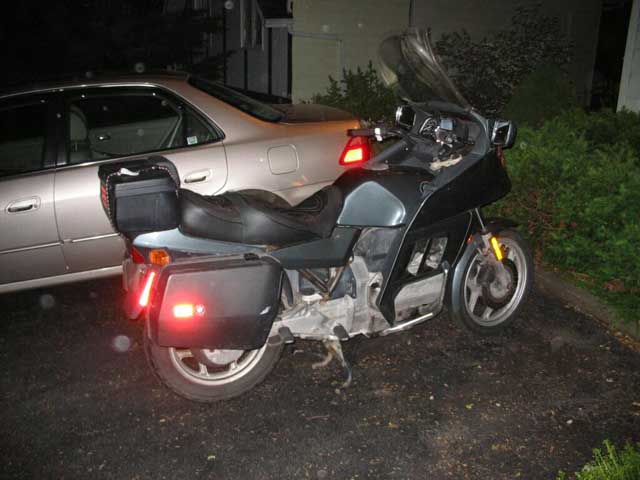
October 2012: Here is the latest addition to the K farm (Another
1985 K100).
I just got this bike in Jacksonville (Florida)
I will spend the winter working on it.
 |
|
|
|