Replacing the engine seal on a K100
| You will find information about
removing the transmission and swing arm on my
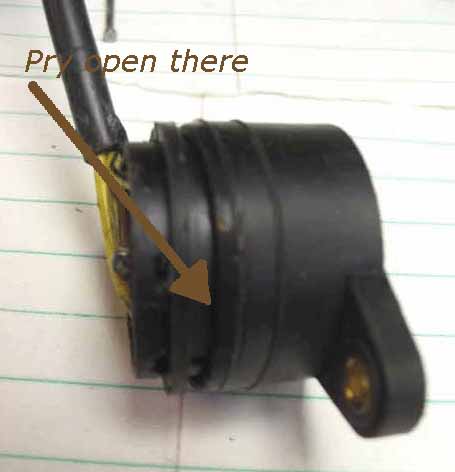
K100 rebuilt page When the transmission is removed, it's a good time to clean the Gear Digital Display switch. When it's clean, coat it with silicone grease. They are not waterproof and a lot of riders experience problem when riding under heavy rain conditions. The following picture is the switch. The arrow is pointing at the area needing silicon grease. You don't have to open it, but if you do, work in a clean area as little springs and pins will fly out 50 feet away.
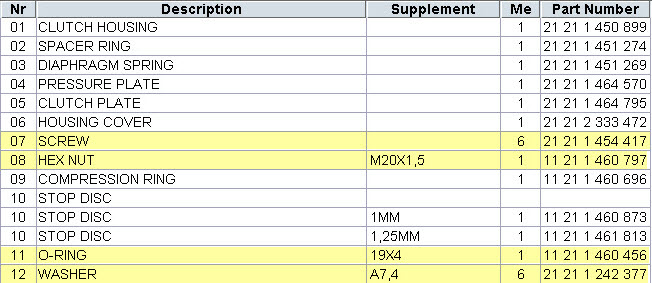
First you should have the following new parts
available to reassemble your clutch (see picture of the part list):
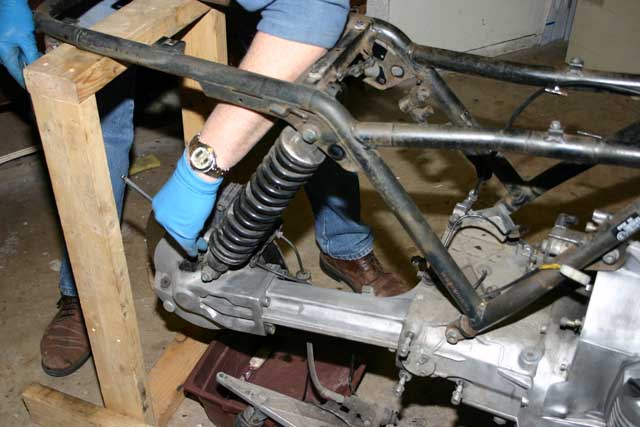
You will have to build a support to put under the
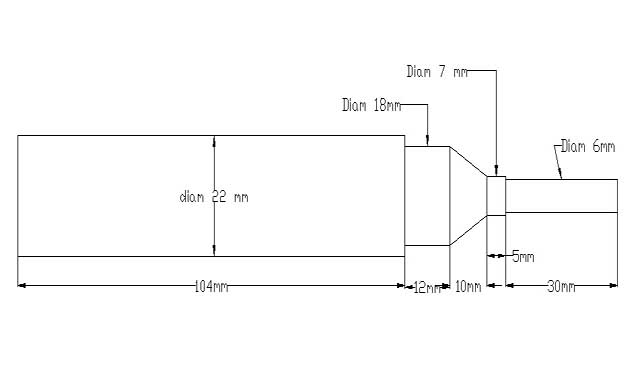
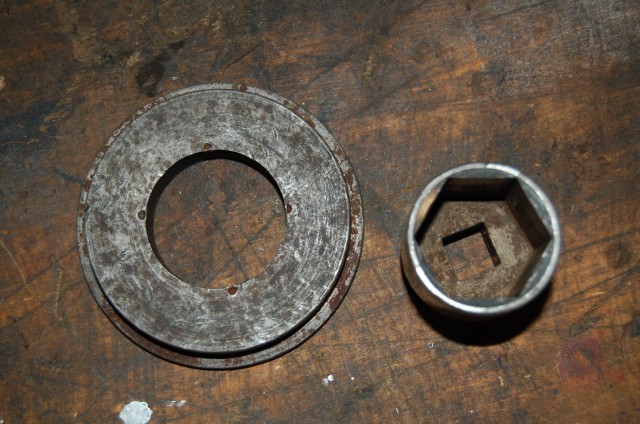
back of the frame: You should have the following tools available:
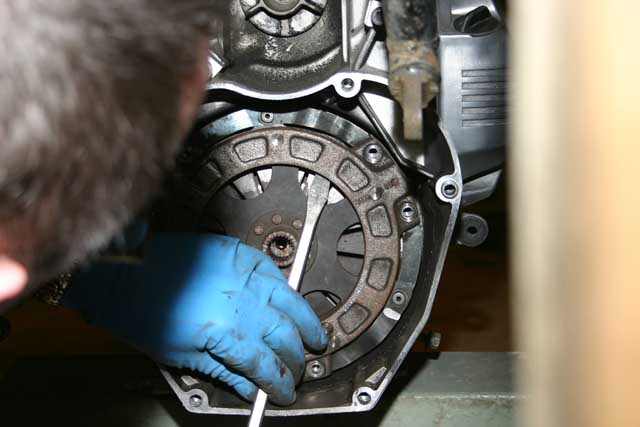
It is time to remove the nut holding the clutch housing using the 30mm socket. To stop the clutch rotating just insert a piece of wood (Hammer handle) in one of the 3 big holes on the housing. (The wood will rest on one of the ribs of the engine housing). When the nut is removed, you will have to dig out the O ring #11. Since it has to be replaced, you can cut it!
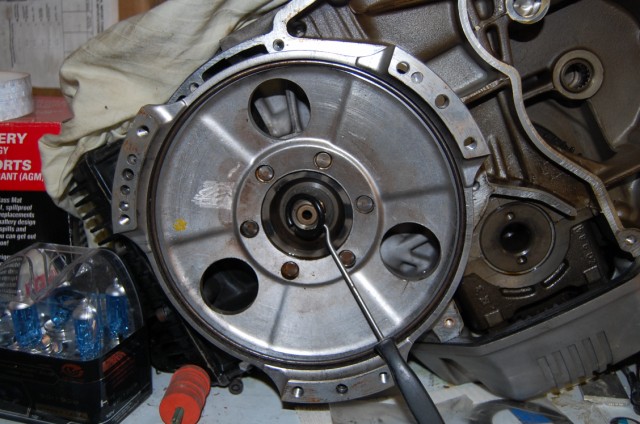
The clutch housing can be pulled off the shaft. The output shaft seal is now visible. (This picture
is from a spare K75 engine and the clutch bell has been removed) Pop out the seal and before inserting the new one check The brass
bushing on the output shaft. This is where the clutch push rod rides. THE SEAL SHOULD NOT BE FLUSH WITH THE HOUSING! IT SHOULD BE LEFT 1 MM OUT. Insert the clutch housing on the shaft, install the new O ring and thigh the nut to 140 ft/lbs (foot per pound) or 140 Nm (Newton per meter) Re-assemble the clutch being careful to line up the marks that you did before removing it. Additional information: Check this thread about the proper installation of the main shaft seal Check this thread for tips on re-installing the gear box
|